How to Set Up and Deploy an OpenClaw AI Agent on a VPS


AI agents have quickly gone from being a niche novelty to something people use every day. And the best part is you no longer need to be a tech wizard to run your own.
Some trade-offs remain, though, and they mostly come down to cost, availability, and privacy. Take ready-made solutions, for instance. They work out of the box but cost more and hand your data to the provider. On the other hand, if you decide to host at home, you will get complete control, but you will also have to guarantee 24/7 uptime, a reliable connection, and secure configuration (since a misconfigured OpenClaw is an open door into your home network).
The cloud sits somewhere between the two. You own the config and data, while the provider handles uptime and connectivity. You also run inference wherever you like. The only real downside here is that you’ll be in charge of the setup.
That’s exactly what this guide is for. It will walk you through the whole process step by step so that you end up with a fully functional OpenClaw AI agent in the cloud.
Choosing the Server Configuration
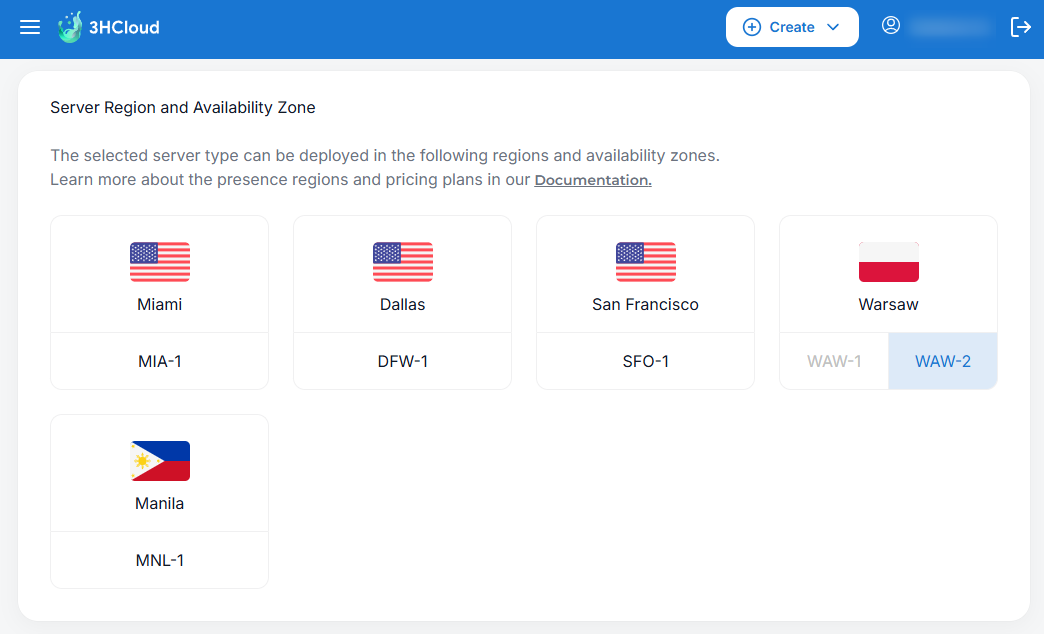
In most cases, we want to choose a virtual server region as close to where the user is located as possible. For example, if you’re in the European Union, you can choose the WAW-2 region (Poland).
Below are the OpenClaw system requirements:
Let’s explain these requirements briefly.
OpenClaw depends fully on the installed version of Node.js. In theory, Node.js 22.19 can be installed on Ubuntu 20.04, but this may introduce issues down the line, especially during updates. As for vCPU, while the main JavaScript execution loop is single-threaded, OpenClaw regularly performs many parallel tasks at once. This is why multiple cores are beneficial.
If you’re running a single solo agent, the minimum recommended configuration should be enough. However, if you’re planning on creating a multi-agent system, RAM will be your most important resource. To keep the agents from competing for memory and interfering with each other’s performance, you’ll need 16 GB or more.
The same goes for available disk storage. As it runs, the AI agent will accumulate logs, and you may notice pretty quickly you’re running low on space. Around 40 GB should be a comfortable starting point since it’s enough both for the operating system and for running OpenClaw long-term without needing frequent cleanups.
Preliminary Preparation
Before you start the installation of OpenClaw, we advise you to get all the other components in place.
OpenClaw’s architecture is based on the AI agent being the connecting link between different systems, namely:
- LLM providers
- Channels and user interfaces
- Sources of data and context
- Tools and external services
- Orchestration systems and infrastructure
It may sound like a lot, but the core idea is pretty simple: normalizing communication between all these parts. OpenClaw gets the role of a universal translator, capable of taking data from different sources, adding context, choosing the right model, and calling the tools needed to complete a task.
LLM Providers
Large language models enable the AI agent to reason, make decisions, and act. When setting up OpenClaw, one of the first choices you’ll need to make is whether you want to use a public or a private service.
With public options, like ChatGPT, Claude, Mistral, and similar, you can set everything up in no time and get strong performance, but you’ll be dependent on the service provider. It can randomly shut down at any moment and stop your agent from performing its tasks. A good example is the US Department of Commerce export directive of June 12, 2026, due to which Anthropic was forced to cut off access to Fable 5 and Mythos 5 for all users.
A private service (Ollama, LM Studio, or vLLM, for instance) lets you run LLM inference on your own or on a rented GPU server. You can use publicly available developments such as OpenAI OSS GPT as models. This approach is usually more expensive, but at least you won’t be dependent on a service provider. Another good thing is that the data will be processed inside a closed perimeter and will not become available to the LLM provider.
If you opt for a public service, though, you should keep in mind that some providers don’t allow you to start using API access without first subscribing to a pricing plan. That’s why you’ll need to set up billing before you can generate a corresponding API key. You’ll then give it to the agent during the onboarding process, thereby providing access to the computational resources.
Each provider has its own setup page:
- OpenAI (ChatGPT): https://platform.openai.com/api-keys
- Anthropic (Claude): https://console.anthropic.com/settings/keys
- Google AI Studio (Gemini): https://aistudio.google.com/apikey
- Mistral AI: https://console.mistral.ai/api-keys
- OpenRouter: https://openrouter.ai/settings/keys
Writer’s note: At the time of writing this article, these were the 5 most popular providers.
However, if you’d rather go down a private installation road, you’ll need to prepare an endpoint for connection in advance and create a key. These are the verification commands for the most popular self-hosted solutions:
- Ollama:
curl http://<IP_address>:11434/api/tags - LM Studio:
curl http://<IP_address>:1234/v1/models - vLLM:
curl http://<IP_address>:8000/v1/models
Make sure to check availability in advance. That way, you will avoid troubleshooting issues during the OpenClaw configuration process.
Channels and User Interfaces
An AI agent can’t work on its own. It needs to interact with the user somehow.
Instant messaging systems seem like a great fit here. You don’t need to develop separate applications or infrastructure, and they let you conduct dialogues in a well-known, convenient form. Many of them also let you create bots and use the API for free.
Let’s take the Telegram messenger, for example. Creating a bot in it is extremely simple:
- Find the bot @BotFather marked with a verification checkmark.
- Start a conversation with it using the /start command.
- Launch bot creation via /newbot.
- Enter the display name and username.
- BotFather will send you a token in the following format:
123456789:AAМhBP0av3D4Xm-XYZ1234567890abcdefGHI
You’ll need it to configure OpenClaw, so make sure to store it somewhere safe. To verify that everything’s working, you can run the following command:
curl https://api.telegram.org/bot<token>/getMe
If everything is configured correctly, you’ll receive a response in JSON format.
Sources of Data and Context
OpenClaw will use the knowledge embedded in the LLM by default. However, its capabilities can be greatly expanded through external sources. For example, you may want to consider connecting the agent to a specialized search engine like the Brave Search API. Since this is a paid service, though, make sure to carefully study the terms and billing specifics so that you can keep track of your usage and avoid unexpected costs.
To get started, you’ll need an API key, which you can obtain from your personal account at https://api-dashboard.search.brave.com/app/keys. Again, key generation is only possible after linking a credit card and selecting a pricing plan. And just like the other keys, this one will also be needed during the OpenClaw installation.
You can connect one or more MCP servers (via the openclaw.json configuration file). These are typically self-hosted solutions that can be deployed on the same server. They’ll give OpenClaw access to a wide variety of tools, from filesystem access to working with GitHub.
Don’t try to connect everything at once, though. Start simple, with the capabilities the agent already has. However, as soon as you run into a limitation, you can start expanding the list of available tools.
OpenClaw Set Up on 3HCloud
Finally we’ve come to the main thing.
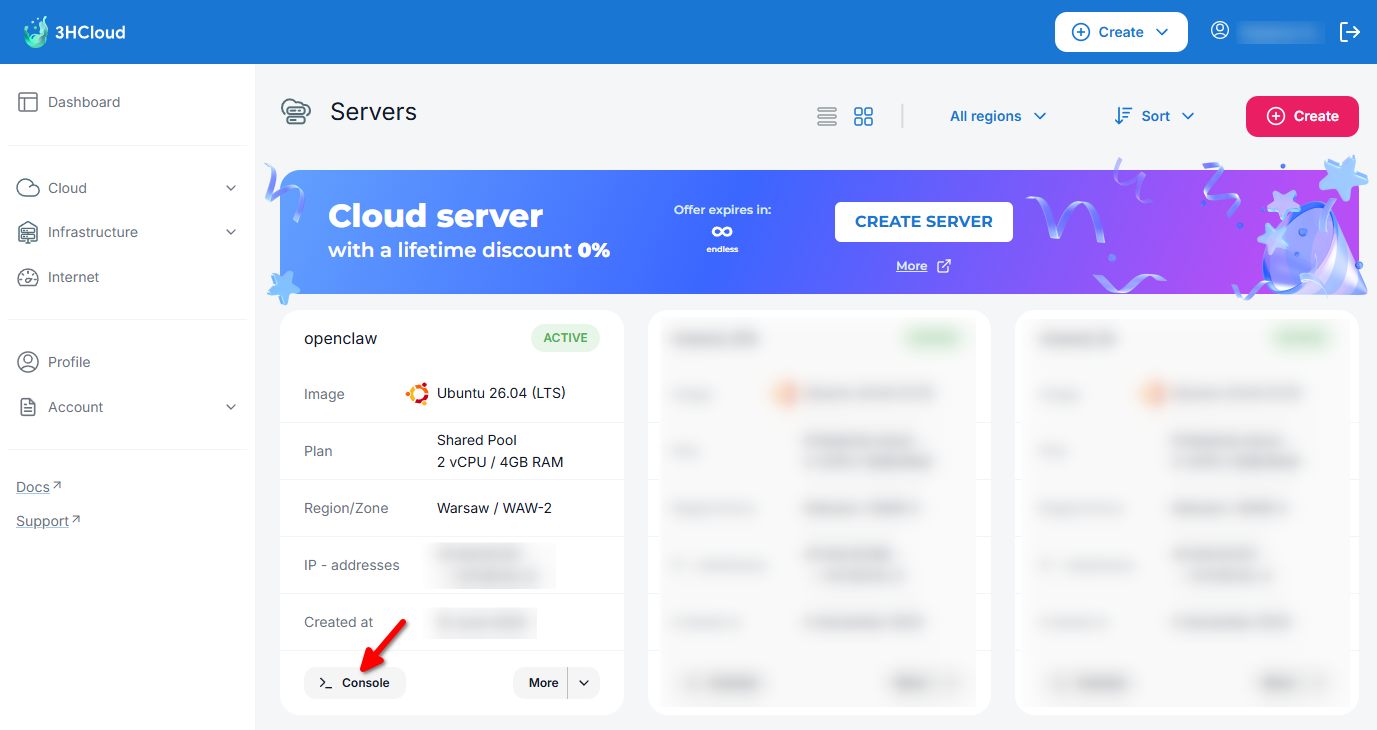
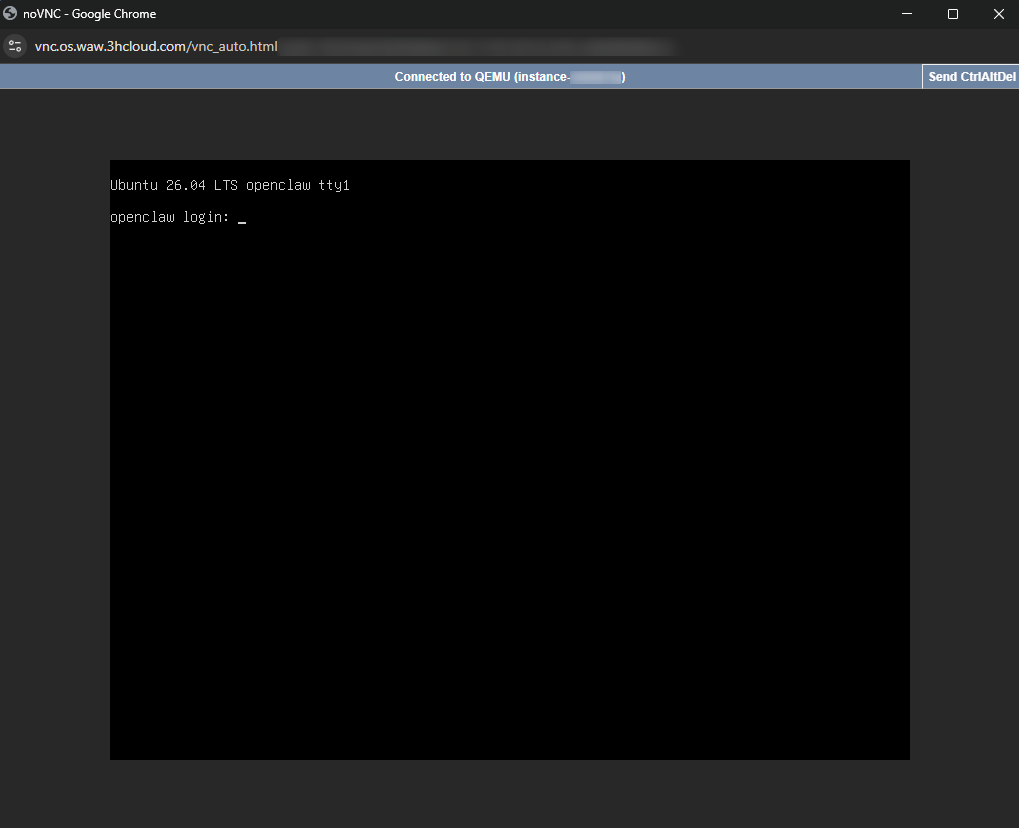
Let’s connect to the 3HCloud server via SSH or through the virtual console:
Before you start, make sure you’ve completed all the preliminary steps. The OpenClaw installation should flow immediately into the onboarding, and if you skip something, you may need to interrupt the process due to a lack of certain data or API keys.
On a separate note, all OpenClaw settings are stored in a single file, ~/.openclaw/openclaw.json. If you’re an experienced user, you can skip the step-by-step configuration stage and immediately copy a ready-made file. This is particularly convenient when migrating an agent from one server to another. However, if this is your first time configuring OpenClaw, it’s better to go through each stage separately.
Once you’ve logged in to the server, you need to update all packages to their current versions and reboot:
root@openclaw# apt update && apt -y upgrade && reboot
By default, you’ll be connected as the superuser root, but that’s not entirely safe. It’s better to create a separate user:
root@openclaw# adduser openclaw
Then, add the user to the sudo group so it can perform administrative actions:
root@openclaw# usermod -aG sudo openclaw
OpenClaw has a built-in skills catalog, and some of them resolve dependencies through Homebrew. If Homebrew hasn’t been installed early, these skills may throw errors during installation. Therefore, it’s best to set it up in advance, after establishing an SSH connection as the OpenClaw user:
openclaw@openclaw$ /bin/bash -c "$(curl -fsSL https://raw.githubusercontent.com/Homebrew/install/HEAD/install.sh)"
Once Homebrew is installed, it needs to be added to the system $PATH variable:
openclaw@openclaw$ echo >> /home/openclaw/.bashrc
openclaw@openclaw$ echo 'eval "$(/home/linuxbrew/.linuxbrew/bin/brew shellenv bash)"' >> /home/openclaw/.bashrc
openclaw@openclaw$ eval "$(/home/linuxbrew/.linuxbrew/bin/brew shellenv bash)"
Now you can proceed to install OpenClaw. This is done by downloading and running a shell script, which also installs Node.js with the necessary dependencies. During the process you’ll be asked for the sudo password:
openclaw@openclaw$ curl -fsSL https://openclaw.ai/install.sh | bash
Deployment
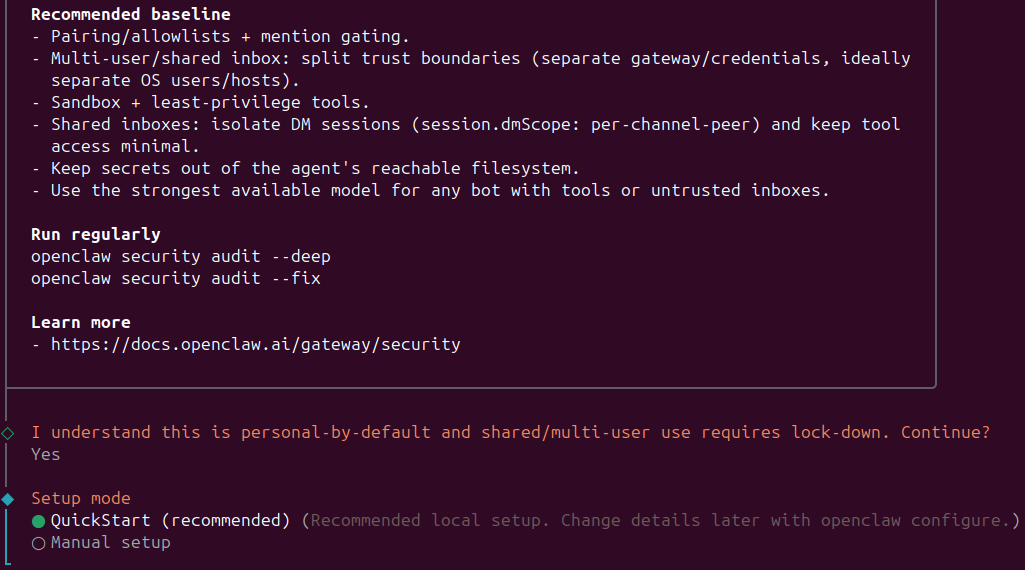
Right after the installation is completed, the script switches into the initial configuration mode.
It’s important to note that you mustn’t use the Ctrl + C key combination at this stage. If you do, the process will instantly crash and you’ll have to configure everything from scratch.
The process begins with a security notification and two configuration options you can choose from. If this is your first time configuring OpenClaw, opt for QuickStart:
First, you’ll be asked to choose an LLM provider. Now, let’s say I generally use OpenRouter. Naturally, I may be inclined to go for that option on the list:
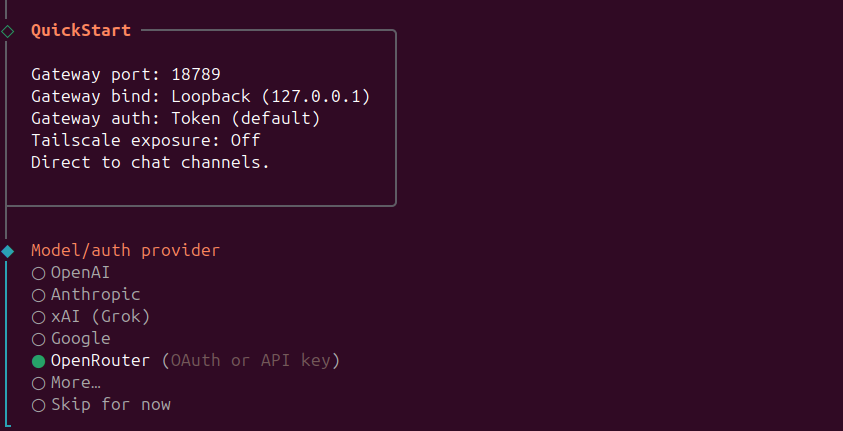
This is a real trap for newcomers. The thing is that OpenRouter models use names like openai/gpt-oss-120b:free. However, OpenClaw parses everything before the slash as the provider type. So even when you enter all the correct data, you may still run into an error.
run error: Unknown model: openai/gpt-oss-120b:free. Found agents.defaults.models["openai/gpt-oss-120b:free"], but no matching models.providers["openai"].models[] entry. Add { "id":
 "gpt-oss-120b:free", "name": "gpt-oss-120b:free" } to models.providers["openai"].models[] to register this provider model. For custom or proxy providers, also set api and baseUrl so
 requests route to the intended endpoint. See https://docs.openclaw.ai/concepts/model-providers.
That’s why you should choose More - Custom Provider instead. Set the endpoint to:
https://openrouter.ai/api/v1
Then select that it’s OpenAI-compatible.
From there, you can safely enter the full model name, such as openai/gpt-oss-120b:free. Next, enter your API key. After that, the system will be able to work with this provider without issues. As a result, OpenClaw now parses the name as openrouter/openai/gpt-oss-120b:free, not openai/gpt-oss-120b:free.
Now we move on to configuring the user interaction interface.
Choose the Telegram (Bot API) section:
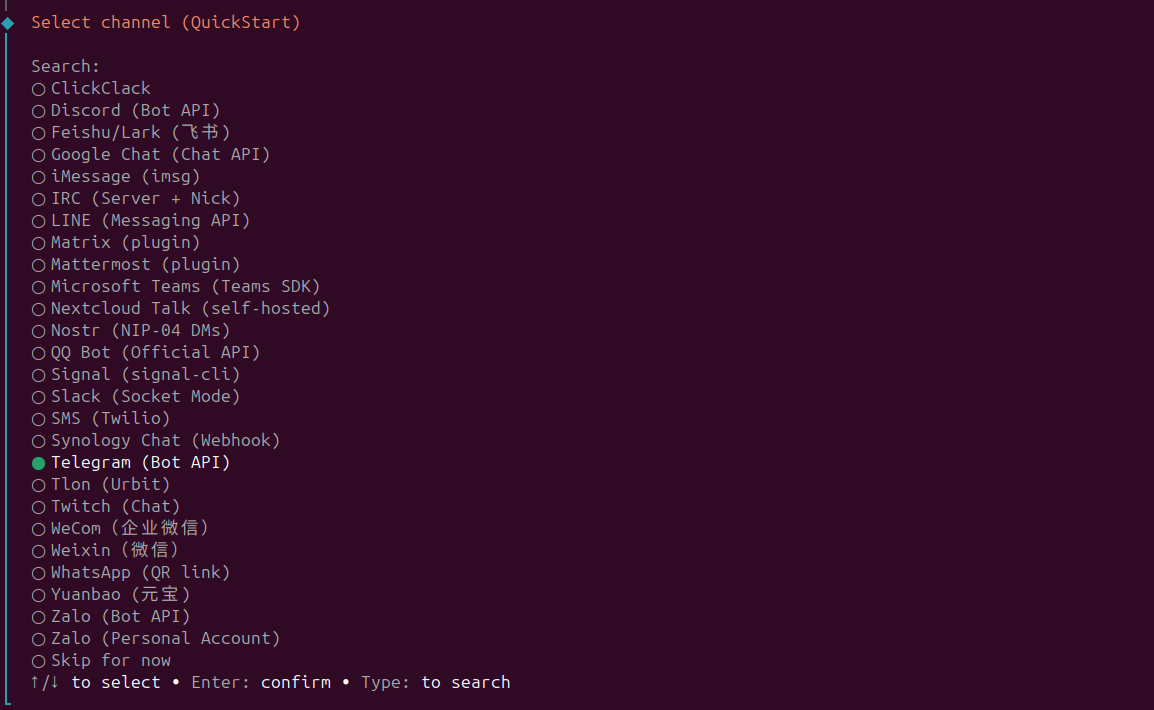
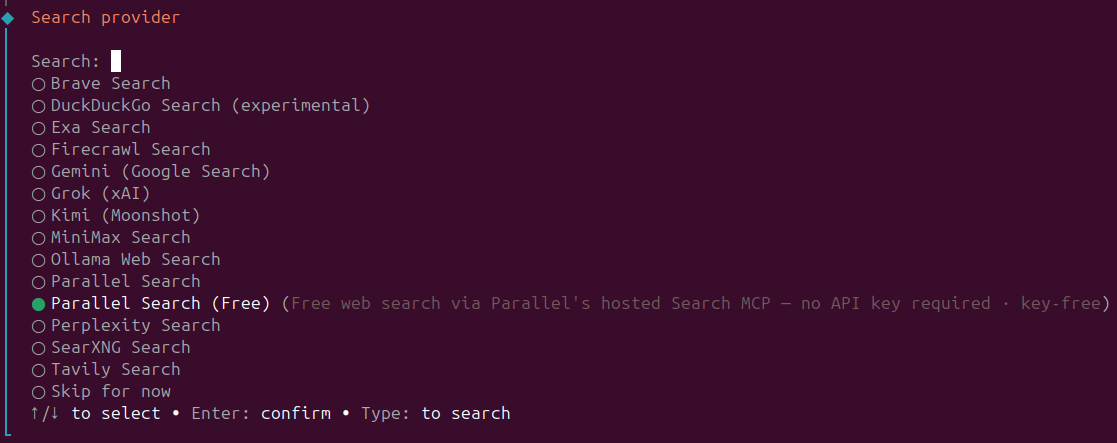
Enter the bot API token obtained during the preliminary preparation stage, and move on to the next item. Here, you can also connect the previously mentioned Brave Search or choose a completely free (but limited) alternative like Parallel Search (Free). You can read about the specifics of this system in the documentation at https://docs.openclaw.ai/tools/parallel-search:
The next step is configuring skills.
First, the system will display brief statistics:
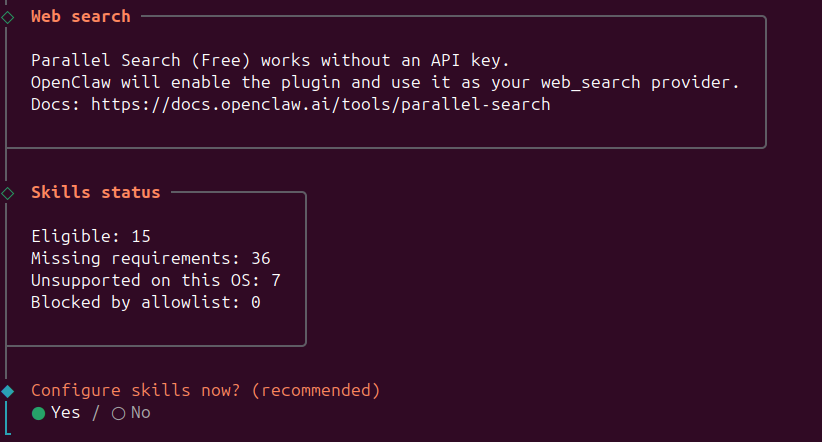
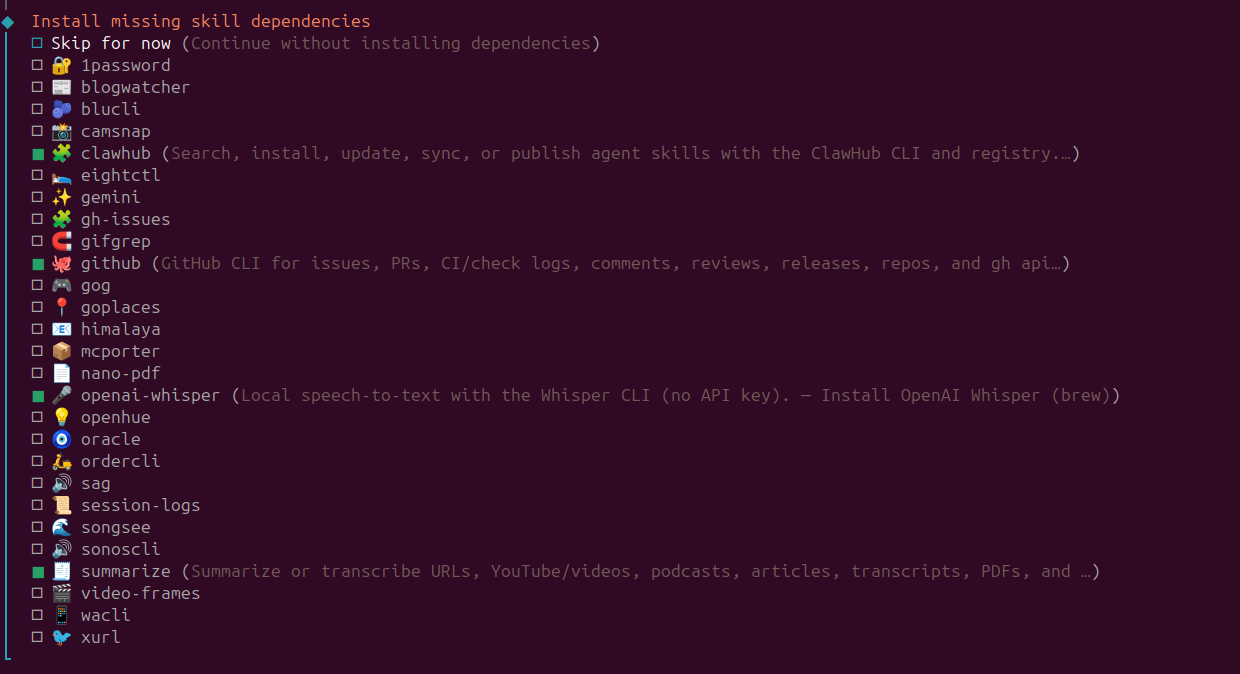
Next, you’ll see a full list of skills, where you can select items using the Space key. At a minimum, it makes sense to select:
- clawhub, which provides access to the catalog of agent skills
- github, for working with Git
- openai-whisper, a voice recognition tool, which you can use to give commands to the agent by voice
- summarize, which you can use for summarizing documents, the text content of videos, podcasts, and so on
At the next stage, the system will notify you that the selected skills have missing dependencies that need to be installed:
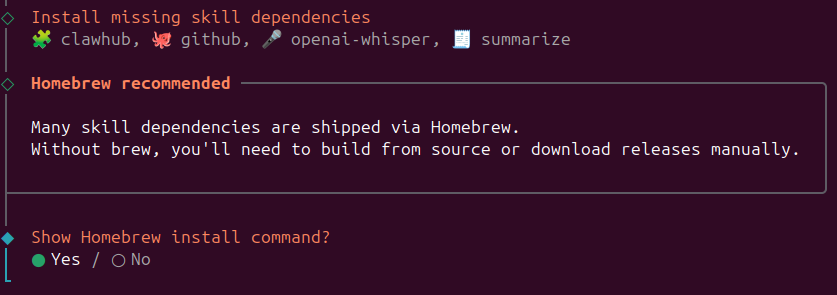
It will offer to install Homebrew, but we’ve already done that. However, there’s a common issue here. If you continue as is, 3 of the 4 skills will be installed correctly, but openai-whisper will throw an error:
Warning: Skipping steipete/tap because it is not trusted.
The thing is that it needs “recipes” from a third-party repository (known as a “tap” in Homebrew ecosystem terms), which are ignored by default unless there’s an explicit permission. If you want to fix this without interrupting the onboarding script, open another SSH session in parallel and enter the command that makes the third-party repository steipete/tap trusted:
openclaw@openclaw$ brew trust steipete/tap
After that, return to the script, choose the item Show Homebrew install command - No, and wait for all the previously selected skills to finish installing.
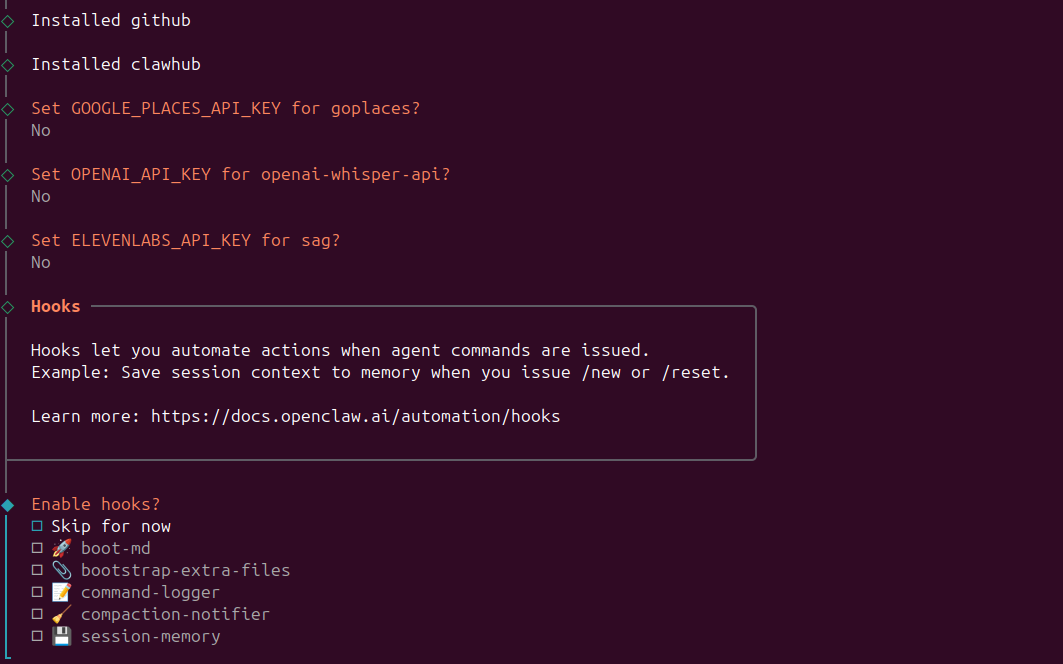
At the next stage, you’ll be asked for API keys for Google Places, OpenAI, and ElevenLabs. If you don’t plan to use these services, just skip them by answering No to each question.
Now is the time to configure hooks, which are small useful agent functions. Personally, I use command-logger (saves a log of commands) and session-memory (gives the ability to clear the conversation content and start a new session from scratch):
And we’ve reached the final stage. The script will prepare the workspace, launch the Gateway, which enables the agent to communicate with external services like Telegram, and start the WebUI (the access to which will be only from localhost by default):
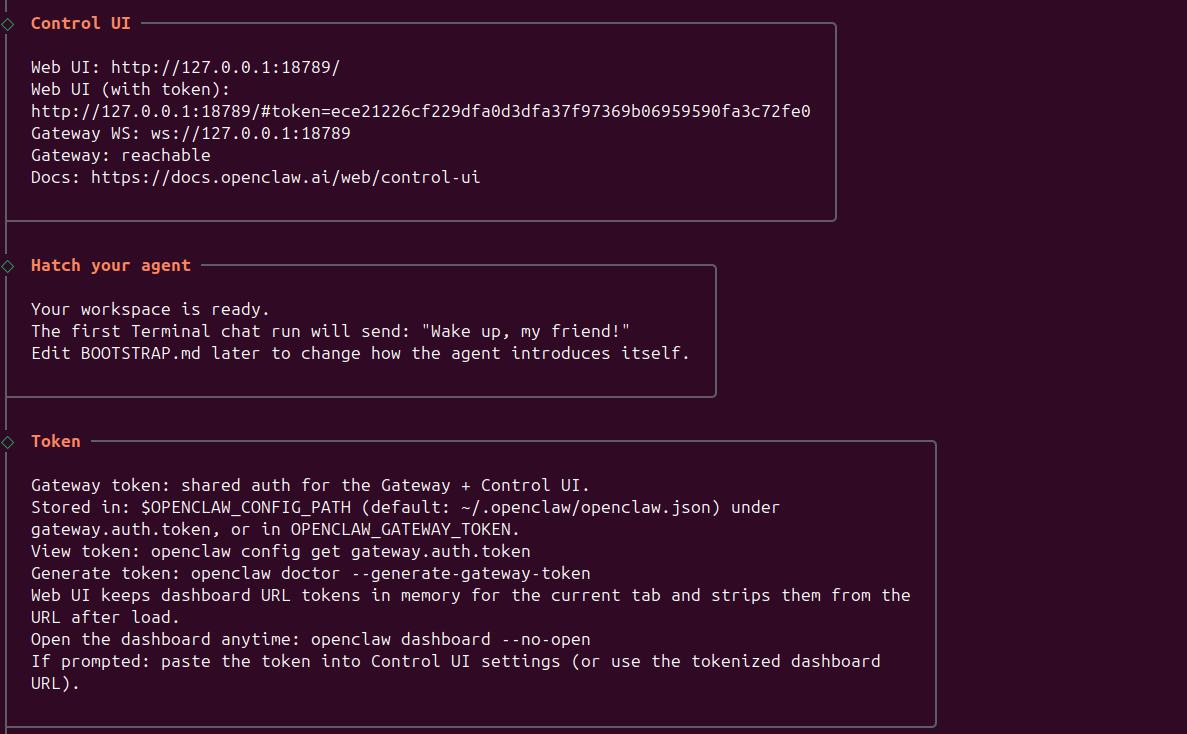
The final step is choosing the Hatch in terminal item, which lets you immediately interact with your newly created agent and start working directly from the TUI:
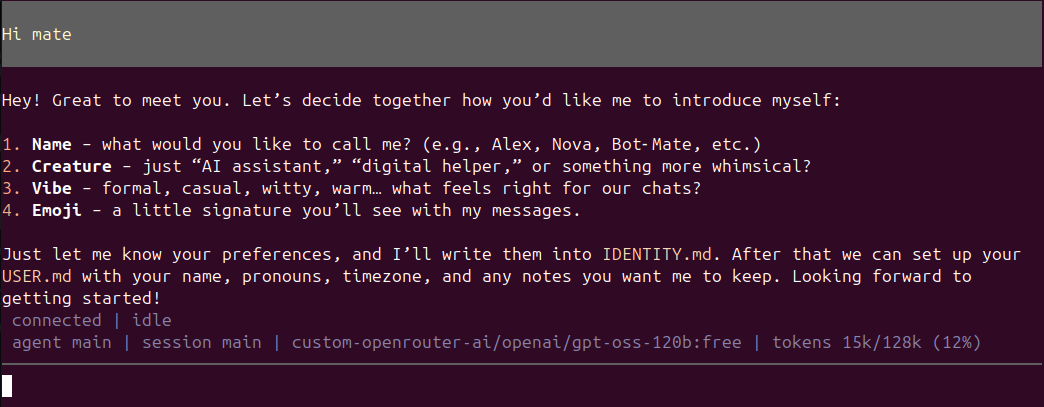
Press Ctrl + C to interrupt communication and correctly terminate the onboarding script. All that’s left to do is verify the interaction with the agent through Telegram. Open the dialog with the bot whose API key we’ve specified earlier and write the /start command.
OpenClaw won’t react to any message from an unknown contact. The response will look approximately like this:
OpenClaw: access not configured.
Your Telegram user id: 123456789
Pairing code:
R32CRWSS
Ask the bot owner to approve with:
openclaw pairing approve telegram R32CRWSS
The last line is the command you need to enter on the server with OpenClaw. Only then will the bot start responding to requests.
At this point, the basic set up and deployment can be considered complete.
Conclusion
It’s clear from the article that the whole process goes far beyond the one-liner displayed on the project’s main page. The success of the installation largely depends on preliminary preparation, which is why it’s important to have every API key and link at hand before you begin. If everything is in place, the setup won’t take longer than 5 minutes. But if you skip this stage, you can easily end up spending a whole week trying to sort out early errors and figure out whether the AI agent is behaving correctly.
Of course, this is only the beginning. In order to work properly, OpenClaw needs further configuration, including filling out files like SOUL.md, where the specifics of the agent’s communication are written. You’ll also need to spend time understanding how everything works in practice.
We’ll cover this and much more in our future articles.